For my own Easter dress this year, I wanted to tie in the stripes from my daughter’s dress and the colors (green, blue, pink) from my son’s shirt (picked up on sale at Gymboree a couple years ago for $4). I also was intrigued by the vintage style dresses where the pattern goes one direction on the bodice and another on the bottom. I found this striped chiffon fabric and thought it would work well, mixed with some sheer blue chiffon.
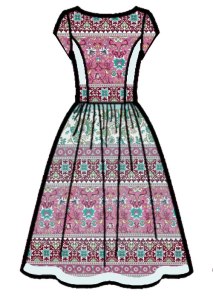
I used Photoshop to mock up what I wanted to do, and planned to overlay certain portions of the striped fabric with the blue, along with using the blue for the side panels (to avoid stripe matching issues).
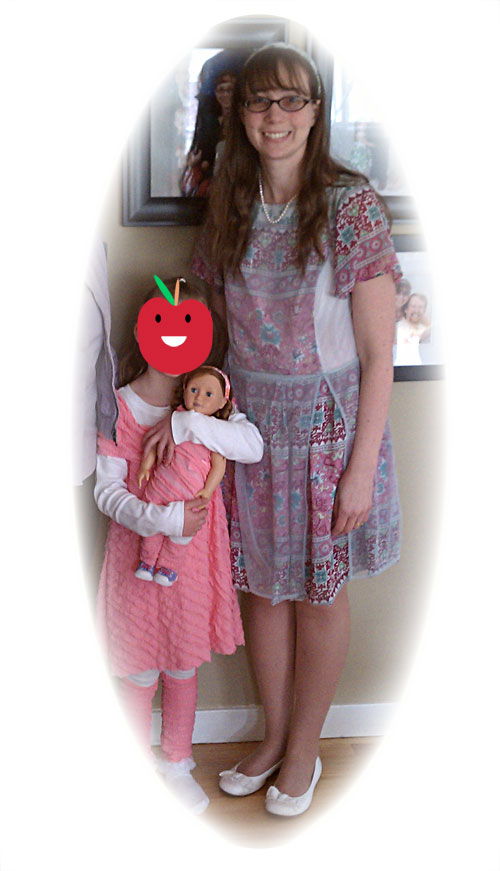
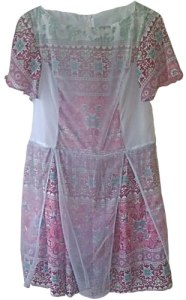
I didn’t end up doing exactly what I had pictured, and I’m not totally happy with the result (I think it needs a strong statement belt and haven’t found the right one yet). But here’s what I did: I overlaid the center panels (front and back) with the sheer blue, and made the side panels solely from the blue. The skirt is full, so that the bottom hem is consistent on one stripe; I overlaid the skirt with sheer panels that attach only at the waist for a floating effect.
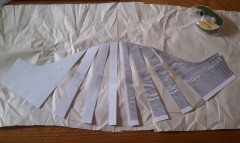
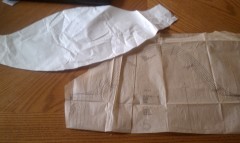
I drafted the pattern for the bell sleeves myself, using this Ikat bag tutorial (which is awesome! you can turn any straight sleeve into any style sleeve you want).
The dress is fully lined, and because all the fabric is sheer, all the seams are finished and tacked down, both on the dress and the lining. Which is a secondary problem, because although I made this off a muslin, I think I could take it in around the waist, but all the finished seams and tacking would have to be re-done 😦 I used a white lining fabric, but if I did it all again, I think I’d go with more of a skin tone, as the white/blue on the sides is a little too “white” for me.
But I still really like the dress, and once I find or make the right belt, I think I’ll love it.
Finally, I made myself a headband, using the method in this tutorial by Jess the Sewing Rabbit on Polka Dot Chair. So easy and handy – just make a sleeve of fabric and slide it over the headband, and tie off the ends. Done. (I totally did this in less than 10 minutes on the night before Easter.)
(Two final notes on this fabric – I also used it to make my husband a pocket square, for which I found this hysterical 10-step tutorial while trying to find out what size square to cut. Seriously, 10 steps to say “cut a square of fabric and hem all the sides with a rolled hem.” Now, folding a pocket square, that required some serious tutorials. I also had enough fabric left over, thanks to a cutting error by Fabric.com in which they graciously allowed me to keep the excess material, to make it into one side of a reversible dress for my daughter.)
Read on about my daughter’s knit dress ensemble and matching doll outfit>>
