Easy swim cover-ups

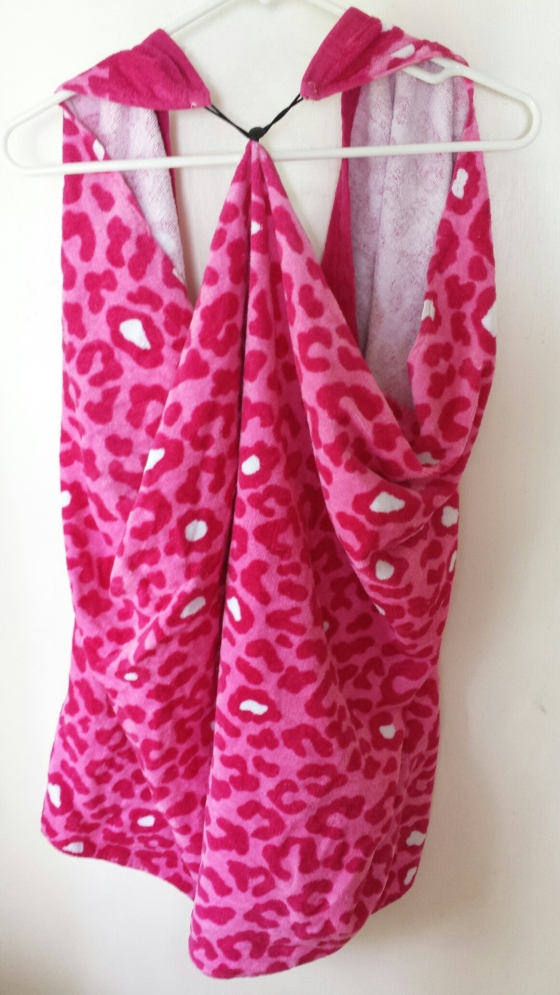
I found some cute beach towels on sale last week, then went surfing on pinterest to find easy cover-ups that I could make out of them.

My main requirement was that the towel was still useable as a towel… ie, it could lay flat. Plus, I only picked up one towel for my daughter and one for myself, so any two-towel methods were not going to work.

Then I found this pin. It’s a towel top, and you can get it on Etsy. She’s got some cool colors and buttons, but if you already have a towel, here’s what to do!

Ignore the Olaf photo bombs, LOL, my daughter was not into posing!

image
How to make this easy swim cover-up:
Materials:
Beach towel, the thinner kind are easier to sew
Button, the kind that stand away from the fabric
Two small hair elastics

1) find the center point on one long edge of the towel. Sew a button at this point, on the right side of the towel. (This will now be the top edge of the towel.)
2) tack a hair elastic on each of the corners of this same top edge, on the wrong side of the towel, so that they stick out past the edge. I tacked each one down a couple of times by simply using a tight zigzag stitch over the elastic.
3) that’s it! To wear, hook the elastics over the button. This connection will go behind your neck, and your arms go through the large gaps made by looping the towel together.
4) you can also add pockets to either the inside or the outside of the towel. So you don’t have to carry a towel and can even use your towel to carry other stuff, like goggles!

Front view
image
Back view.
image

Close-up of how the elastics and buttons connect in the back.
image

image
My son’s Olaf towel poncho, which was definitely not as easy but still only took a couple hours, was made by using a combination of this Olaf hooded towel tutorial and pattern and this towel poncho tutorial.

image

image

Fitted crib sheets

My sister-in-law is having a baby any day now! I had made flannel crib sheets for her first child a couple years ago, and she requested a new set for the new baby.

Here they are! I made the top one color and three sides are solid from the contrasting color. The final side, one of the long ones, I had some fun with. The first sheet has a striped side…

image

And the second has checkerboard side!
I think they will look super-cute through the side of the crib.

image

I hope my new nephew enjoys his new sheets. (Note: I had to go get my son’s old crib mattress from the basement to try these out, which is why it’s on my craft table! No cribs in this house anymore, LOL!)

Pattern review: Jeffrey’s Summer Jumper by Create Kids Couture

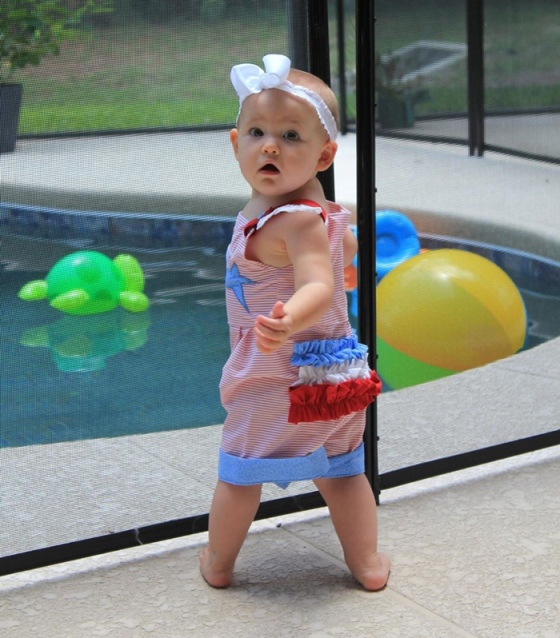
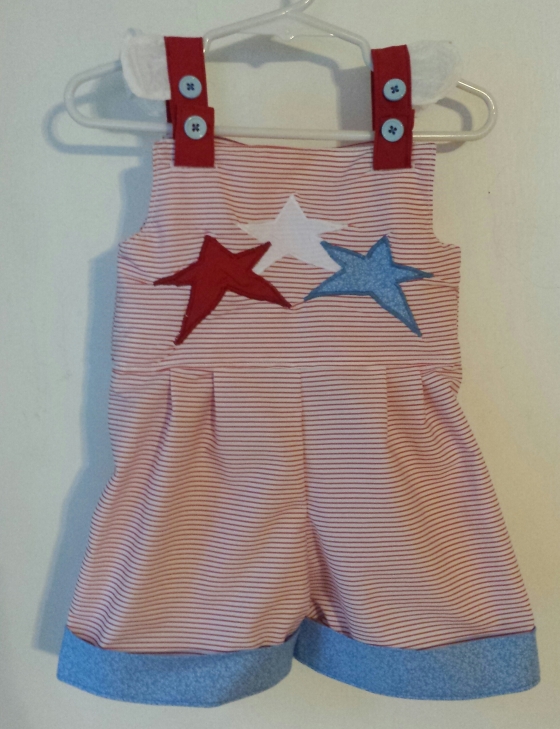
I got the Jeffrey’s Summer Jumper pattern from Create Kids Couture, intending to make matching outfits for my nephew and his brother (on the way in a few weeks!) to wear. But first I turned it into a girl’s romper for my niece to wear on Memorial Day, the 4th of July, etc., with just a few adjustments. First, I omitted the pocket from the front, and added three appliqued stars. Second, I added ruffles across the butt (because who doesn’t love a baby ruffle butt). Third, I added little flutter “sleeves” to the shoulder straps.

And here are the results!

romper1

This was a pretty easy sew, even with matching up all the little stripes everywhere, and very easy to adapt. I also love the way CKC makes their patterns. Through the use of negative space pattern pieces and rectangle shaped pieces, I only had to print a couple pages. LOVE, since PDF patterns are traditionally a printing/cutting/taping nightmare for me. My one complaint about the pattern is the finishings in a couple areas.

First, on the cuffs – the way they are attached is not the easiest thing to figure out, and leaves an unfinished seam inside the edge of the pants. The photos on the pattern show that the edge can be serged or zigzagged over (I  don’t have a serger, so I had to zigzag them). When I make this again for the boys (I already have the pieces cut out, just need to find time to put them together) I think I’ll change how the cuffs are attached.

romper2

Second, the waist seam, as written on the pattern, would leave an unfinished edge on the inside. Since the bib is lined, I didn’t think this was necessary, and went ahead and changed it when I made it. I just sewed the lining to the shorts (so that the seam would face the inside of the lining), then folded the bottom edge of the outer fabric up (to the inside), and topstitched around the edge of the bib, making sure the inner seam was encased. No nasty unfinished seam right on baby’s soft belly! Plus, the topstitching fit in with the other topstitching already on the pattern, around the top edge of the bibs, the straps, cuffs, etc.

romper3

One last baby pic so you can see the front of the romper, and then some photos I shot of the outfit on a hanger before I sent it off to my niece. I’m submitting this romper to the Sewing Mama RaeAnna contest, please vote for me when voting opens! Thanks!

romper4

Fabric notes: All the fabric and the buttons I used for this project were leftover from other projects! That’s right, total fabric and notions cost= $0. The red and white striped has shown up on this blog on numerous occasions, it’s a cotton shirting fabric. The red and blue are cotton quilting fabrics. The white star is linen, and the flutter sleeves/white ruffle are white cotton.wpid-20140519_194847-1.jpgwpid-20140519_194921-1.jpg

Envelope-style pencil cases

Tonight’s crafterations: tie-front envelope-style pencil cases for the kids to give their religious ed teachers (with another gift inside).

Quick and easy project and they turned out great! Here’s an in-progress shot:

image

And the final product:

image

I hope their teachers like them! I need to whip up a couple for myself next as purse organizers, LOL.

Quick tutorial (for one cases):
Cut a rectangle of fabric 11 inches by 9 inches.
Hem the short sides with a 1/4 in rolled hem.
Cut an 18″ piece of 1/2 in coordinating ribbon.
Tack ribbon to center of right side of fabric rectangle, centered and aligned so edges of ribbon hang over hemmed edges of fabric.
Being careful not to catch ribbon, fold hemmed edges into the center, overlapping so that resulting width is approx. 1/3 of original, and so that the wrong side is out.
Sew raw edges together with a 1/4 in seam. Clip corners and seams.
Turn right side out and press out corners.
Use ribbon to tie!

Frozen pillowcases

image

Last week, I accidentally wrecked one of my daughter’s throw pillows in the washing machine. So we went looking for fabric to make some pillowcases for the pillows (sewn back up but not cute any more), and found this Frozen fleece remnant. So cute.
image

The pillowcases of course led to making matching pillows and a “blanket” (rectangle of fleece, LOL) for her doll out of the scraps.

I got some other material to make Valentine’s day pillowcases for our living room, but that’s for a later day!

Christmas clothes, 2013 edition, part 2

With one (holiday) weekend to go before family Xmas photos, here’s what I have left to do:

Daughter – jacket – haven’t started yet.
Son – vest: side seams, closures.

And which items are totally finished:

Daughter: Shirt, skirt.
Son: Tie, pants.
My dress 😀

I’ve got quite the pile of items that are very close to being done. I think I’m going to try to get those knocked off in the next couple days and focus next weekend on my daughter’s jacket, which should be pretty involved and for which I’m adapting three different patterns.

Here’s an in-progress photo of my son’s vest, which will be reversible – this is one side, and the other side is the same material as my and my daughter’s skirts, a navy blue floral. (My husband, upon seeing me laying out these pieces: “You know, there’s no way he’s going to wear it the other way, right?” I think I’m mostly ok with that, as long as I can get one photo of my kids wearing their matching outfits.)

1394418_10202581199834221_267095348_n

Tiana Halloween costume, part 1

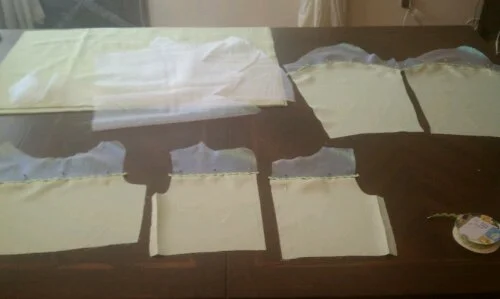
image

I have a couple hours… Let’s see how fast I can sew!

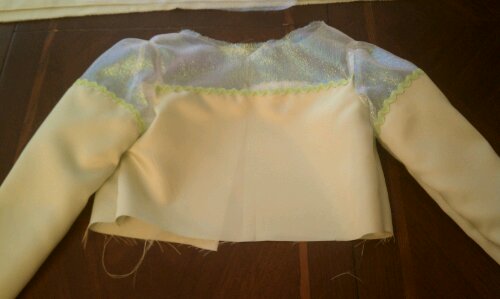
Updated 5 p.m.: I went from a pile of bodice pieces to a bodice. Not too bad, considering all the finished seams on the sheer parts.
image

Updated 8:30 p.m.:
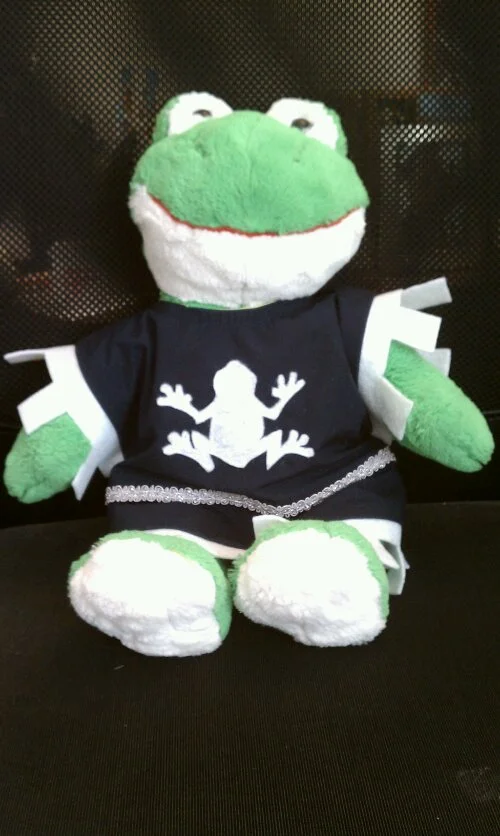
Well, you know I couldn’t leave it at that, since the hard part of the main dress was done. Still have to put in the zipper, hem the bottom and sleeves, and make the overskirt/apron thing. Oh, and make a prince costume for her frog 😛
image

Updated 10:15 p.m.:
Started putting together the overskirt, hemmed and edge is rick-racked. Need to attach the skirt to its waistband and put on the decorations.
image